Customer Support
Freeze Dryer Problem Diagnosis Guide
Need help?
SUBMIT A TICKETIf your unit is out of warranty, we charge a nominal fee.
CLICK ON A CATEGORY BELOW TO GET STARTED
NEW FREEZE DRYER SETUP
HOW TO USE YOUR FREEZE DRYER
1. Watch the video, "How To Use Your Freeze Dryer"2. Download the PDF, "How to Use Your Freeze Dryer"
HOW TO REHYDRATE FREEZE DRIED FOOD
BEFORE YOU START, FOLLOW THIS CHECKLIST:
- Is the drain valve closed? (The small handle on the valve should be perpendicular to the direction of the drain tube.)
- Have you cleaned the door?
- Is the black rubber gasket (door seal) clean?
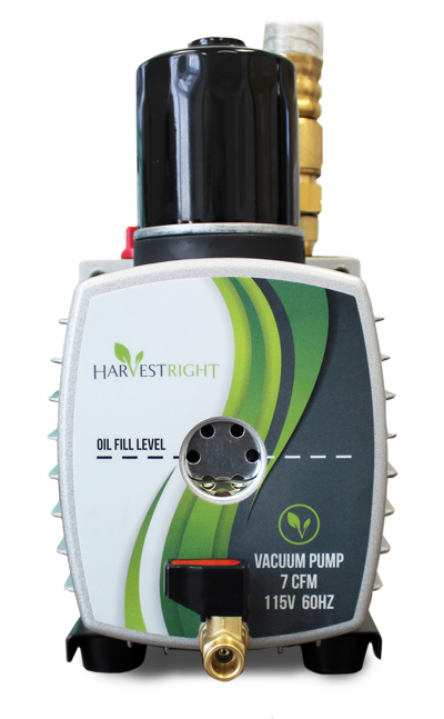
- Have you replaced the oil in the vacuum pump?
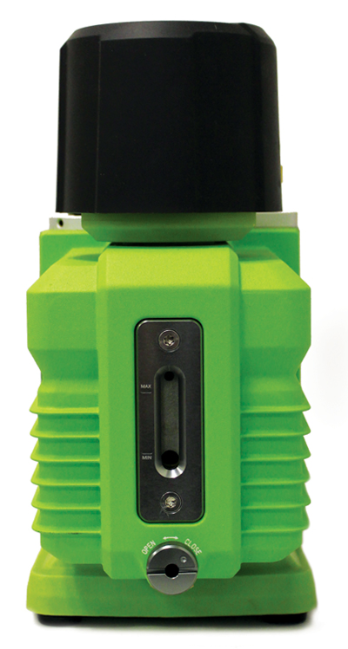
- Is the vacuum pump filled with oil to the middle of the sight glass?
- Is the door pad in place? (Ensure it is not stuck between the door and the rubber gasket.)
- Is the door closed and compressed tight?
HOW TO REMOVE AND CLEAN THE SHELF AND VACUUM CHAMBER
2. Then wash the shelf and the inside of the chamber with warm soapy water and rinse with warm water.
HOW TO REPLACE YOUR DOOR
WHAT YOU'LL NEED WHEN YOU TALK TO A HARVEST RIGHT TECHNICIAN
In order to talk with someone in Technical Support you will need the following:
- Your name
- Serial Number of your freeze dryer (found on the back of the unit)
- Your freeze dryer “log files.” These files contain all the information about how the freeze dryer has been working. You can get the log files by doing the following:
Put a blank thumb drive into the USB port on your freeze dryer.
Power off your freeze dryer and wait for 10 seconds.
Power your freeze dryer back on and wait for the files to load onto the thumb drive. This could take a few seconds, or a few minutes, depending on how many batches you have run.
You will know that it has finished when the screen comes back to “Start” on your freeze dryer.
Then take out that thumb drive and insert it into your computer and e-mail your Harvest Right technician the file that was downloaded onto the thumb drive. That file is titled “Harvest.”
PACKING UP YOUR FREEZE DRYER TO SEND TO HARVEST RIGHT
FREEZE DRYER REPORTS A VACUUM ERROR
1. Watch and follow the instructions in the video, “Vacuum Error”2. Download and follow the instructions in the “Vacuum Error Solutions” document
UNIT STILL CANNOT GET A VACUUM AND EPOXY PLUG LEAK IS INDICATED
If your unit still cannot get a vacuum and it is determined by a Harvest Right Technician that the problem could be your Epoxy plug that the heater wires come through then watch the following videos to solve this problem:
1. Watch the video, “Removing the Panels from Your Freeze Dryer”
2. Watch the video, “How to Confirm and Fix an Epoxy Leak”. This video will show you how to detect a leak as well as repair a leak.
EPOXY PLUG NEEDS TO BE REPLACED
REPLACING DRAIN VALVE
REPLACING VACUUM SENSOR
STEP 1: CHECK FOR FROST PATTERN
a. First check for a frost pattern by powering on the freeze dryer.
b. Press “Start” and sequence through the screens until the unit begins “Freezing.”
c. Open the freeze dryer door and let it run for 60 minutes.
d. After 60 minutes you should see a frost pattern that extends ½ the length of the chamber or more. Touch the walls of the chamber, if they are not cold, or if you do not get a frost pattern then proceed to STEP 2
STEP 2: CHECK CONDENSER FAN & RELAY BOARD
a. Check to make sure your refrigeration condenser fan is running. You can hear it and you can feel it blowing air out the sides of your freeze dryer. If you want to be certain, take a thin strip of toilet paper and hold it next to the side of the freeze dryer where the holes are. On one side of the freeze dryer it will be sucked to the holes and on the other side it will blow away from the holes. If the fan is working then do the following:
b. Check to see if the computer relay chip for freezing is switching on. You can do this by watching the video, “Testing Computer Relays.”
c. If the relay is faulty, the entire board will need to be replaced. You can purchase one from Harvest Right and replace it by watching the video, “Relay Board Replacement.”
Download PDF
IF THE RELAY BOARD IS NOT THE PROBLEM
If the relay board is not the problem, then it is likely that you have a bad refrigeration condenser. It may have a leak and will need to be charged with refrigerant. At this point you should talk to a Harvest Right Technician as you will likely need to send Harvest Right your freeze dryer or hire a refrigeration repair person.If you hire someone, please have them follow the directions found in the document titled, "Refrigeration Repair Information."
STEP 1: IF YOUR FOOD NEVER GETS DRY
a. First power on your freeze dryer. Press start and go through all the buttons until the screen says “Freezing.” Then press the “Cancel” button. This will take you to the “Process Complete” screen. Then press “Defrost.” Wait for a couple of minutes and check the heater pad on each shelf to see if they are heating. You should also check the roof of the top shelf to make sure that one is heating too.
b. If your heaters do not get warm, then check to see if your heater cable has wires pulled out of it and that it is connected properly. You can do this by watching the video, “Shelving Plug Connections.”
If the heater wires are not the problem, proceed to STEP 2
STEP 2: IF THE HEATER WIRES ARE NOT THE PROBLEM
STEP 3: IF THE RELAY BOARD IS FAULTY
STEP 1: RECALIBRATING TOUCH SCREEN
When you push the buttons does it not respond properly?
This likely means that the screen needs to be recalibrated. To do that, watch the video, “Calibrating Your Display.”
STEP 2: IF YOU GET A BLACK SCREEN
Make sure the power plug is plugged firmly into the wall and into the back of the unit.
Make sure the switch on the back of the unit is switched to “On.”
Check your electrical outlet for power. Plug something else into the outlet so you can be sure that you are getting power.
If everything checks out, you may need to replace your LED Screen and computer board. This can be done by purchasing the computer board and screen from Harvest Right and by watching the video, “LED Display Screen Replacement"
If the power receptacle is shorted out, watch the video, "Replacing Main Power Harness"
Watch and follow the instructions in the video, "Replacing Power Receptacle."


